What Goes in my Pack in Winter?

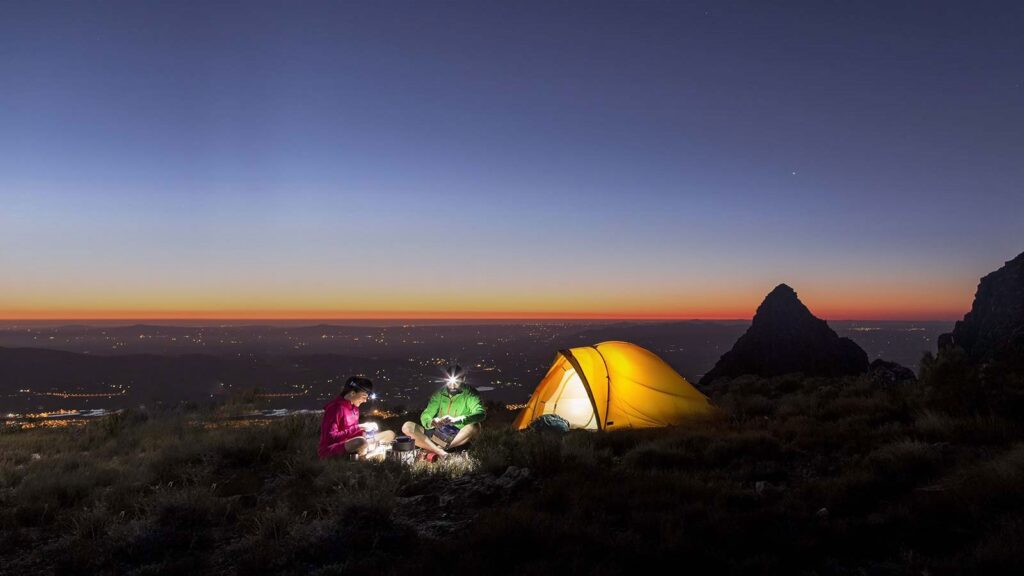
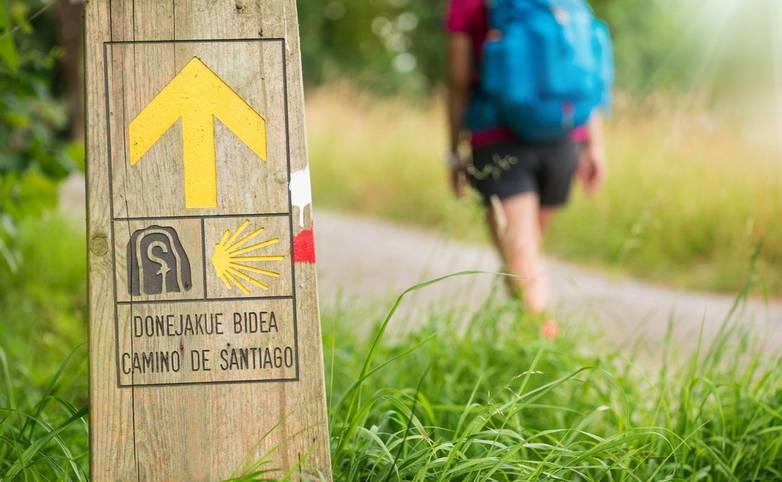
I’ve taken quite a few long distance hikes in recent years, from walking around Ireland and walking the Camino to hiking the Pacific Crest Trail in America. These trips were very different in terms of climate and logistics but I still managed to use much of the same equipment on each one. That being said, the winter weather is not to be underestimated in Ireland and especially warm gear is essential for this time of year.

But what exactly should you carry in the Winter months?

Here’s a list of what goes into my pack in Winter…

The Big Four – My Shelter, Mattress, Sleeping Bag & Backpack

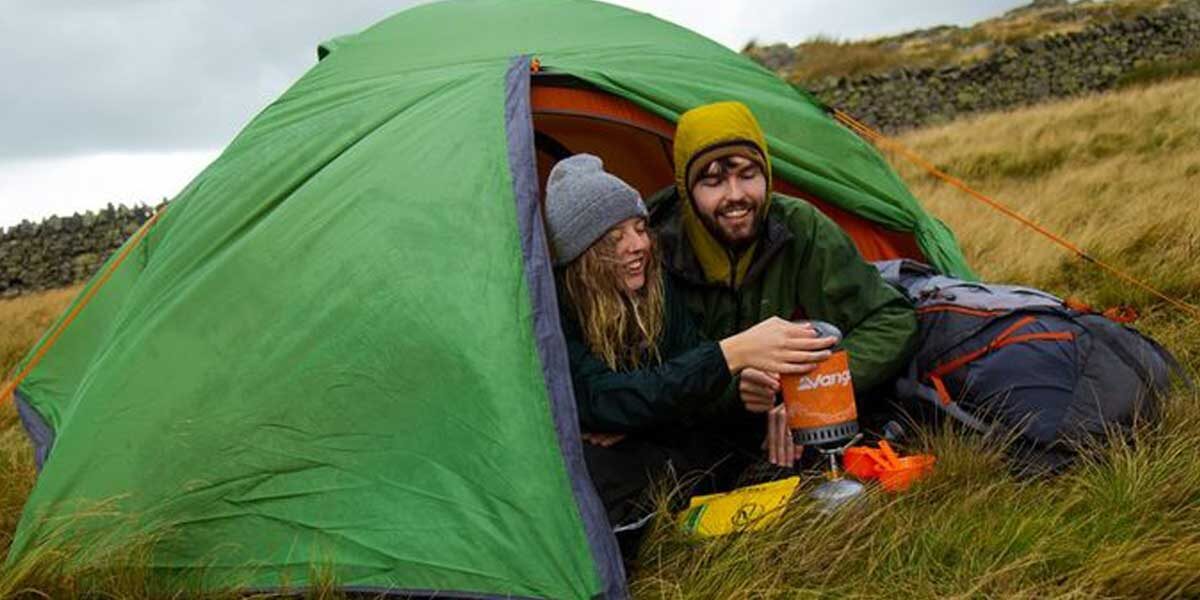
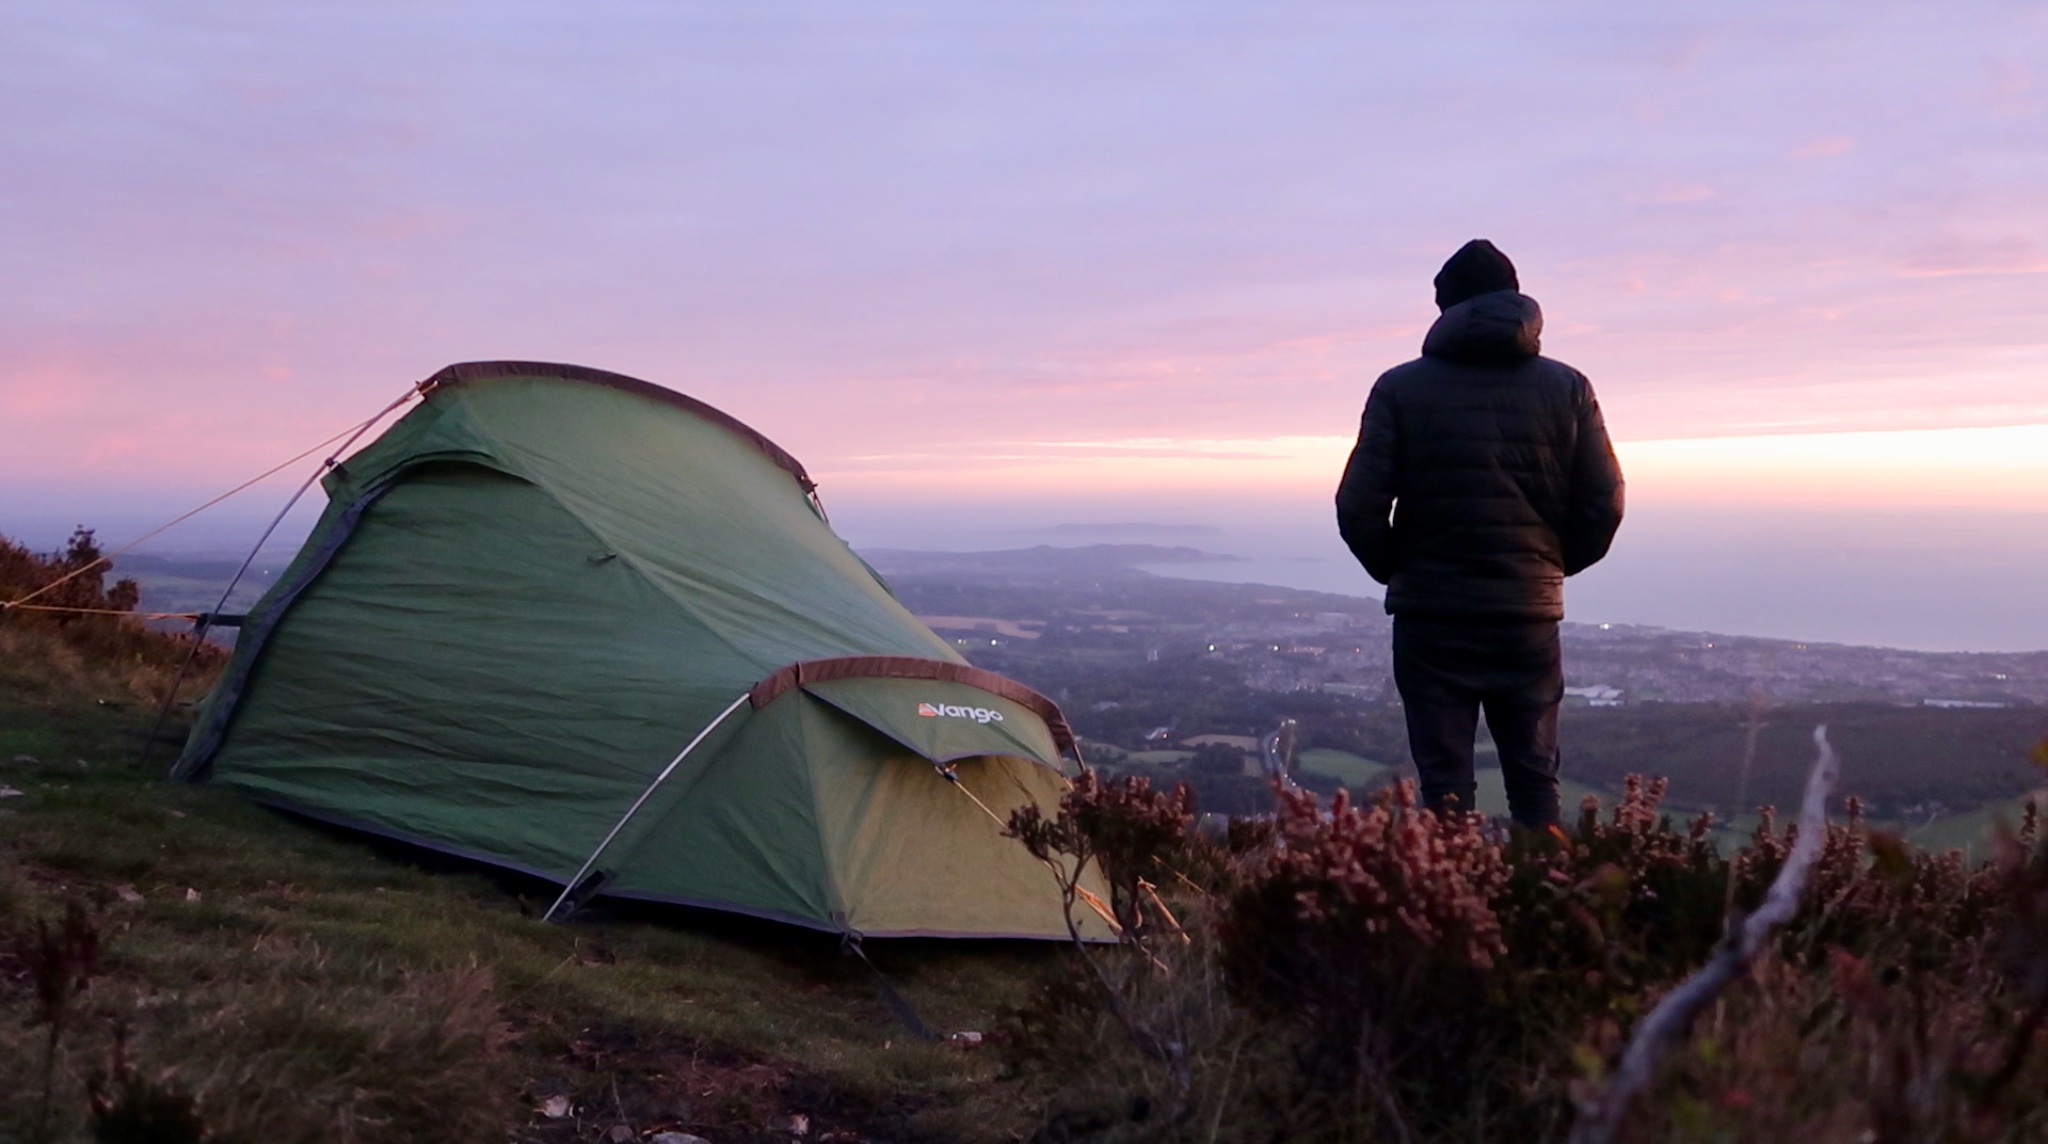
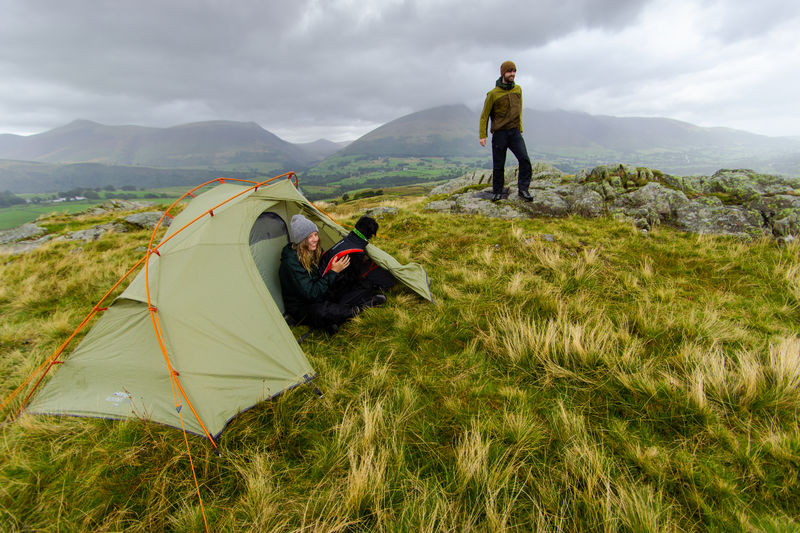
Tent – Vango Banshee Pro 200

If I had a few extra bob, I might invest in the ultralight MSR Hubba Hubba NX. However, there’s no getting away from the fact that my Vango Banshee Pro 200 continues to find its way onto my packing list for every trip here in Ireland. It’s green which helps this tent blend in with the environment but more importantly, it performs surprisingly well in most weather conditions and has just enough space inside for both myself and the backpack – I recommend keeping your backpack inside at this time of year.

Mattress – Trek 3 Compact Mat

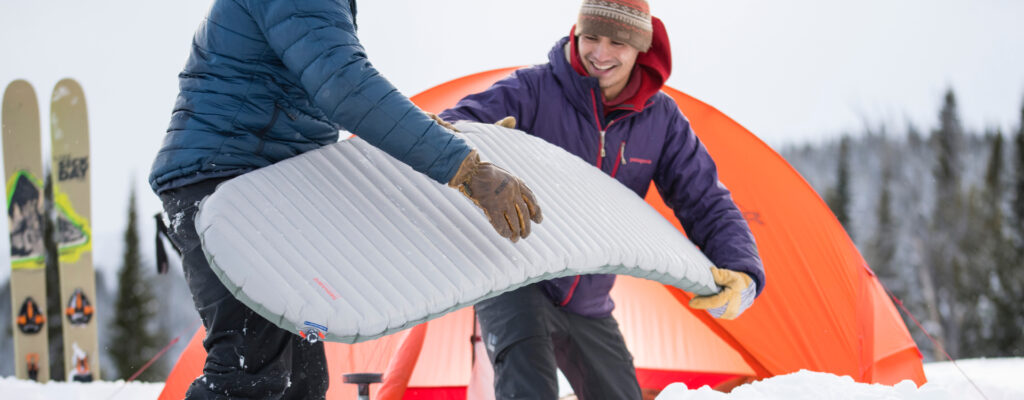
I have a foam mattress and a Thermarest and use both for camping in Winter. But a proper Thermarest is needed at the very least to keep you off the cold ground underneath. Weight is usually the reason for a difference in price between these mattresses. The lighter the mattress, the higher the price and I find the Vango Trek 3 Compact Mat is quite affordable, while the Neo Air would be my dream mattress!

PS. It might seem as though I’m biased toward Vango in some way but that’s not the case. I’ve tried so many options and Vango continues to outperform in many cases.

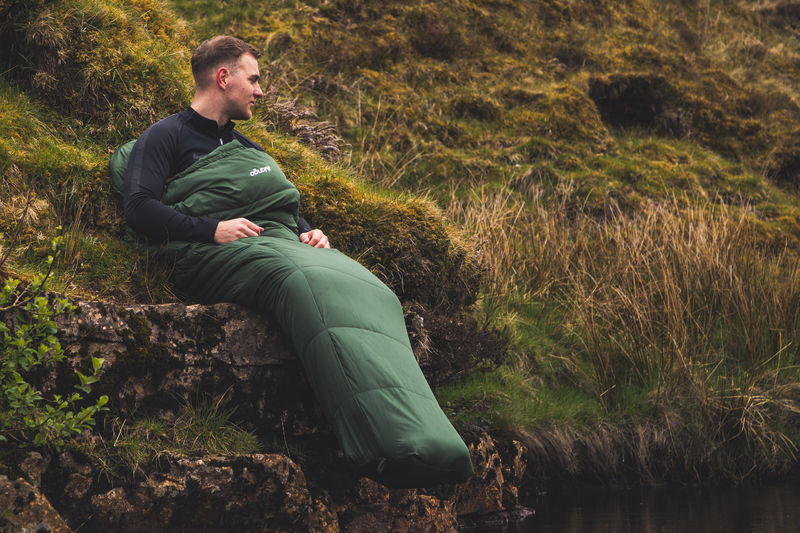
Sleeping Bag – North Face Blue Kazoo

I used a North Face Blue Kazoo for many years and it served me well. But it wasn’t always warm enough and a sleeping bag liner is now required to get a decent night of sleep in the winter months. For this reason, I am looking at a few sleeping bag options such as the Thermarest Questar. Although some sleeping bags might seem a little too warm, it’s important to remember that you can often regulate this temperature. Opening the sleeping bag is one way to do this and it’s certainly better than shivering the night away in the cheapest bag you could find. Just so you know, a cold weather sleeping bag will have more synthetic or goose down insulation and will often have zippers above the shoulders and a hood to keep in the heat.

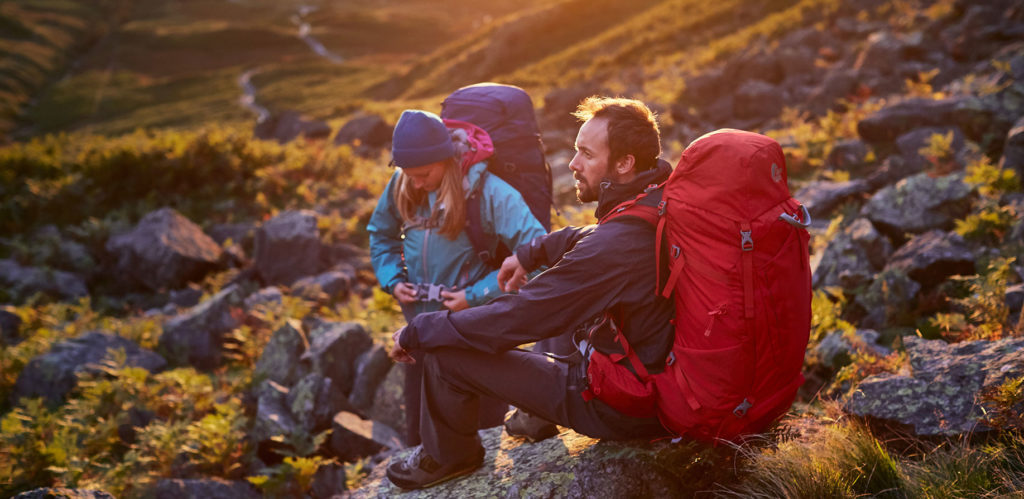
My Backpack – Osprey Exos 58

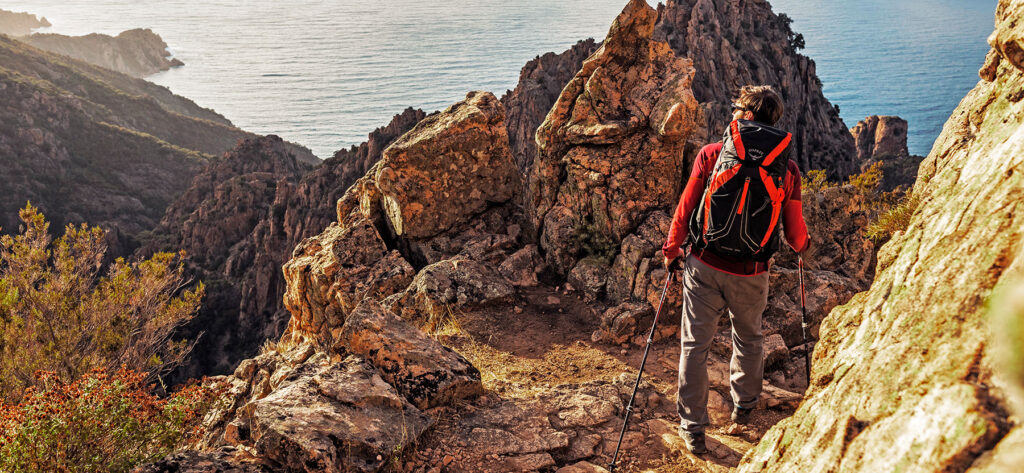
If you’re going for quick overnight camp in Winter, it’s still necessary to carry more gear than you might in the summer months. That’s why I often use my biggest backpack for the winter months. It should be remembered that carrying a slightly bigger backpack doesn’t add a lot to your base weight if you pay close attention to the contents. The Osprey Atmos AG 65 is a nice alternative to the Exos.

My Winter Clothing

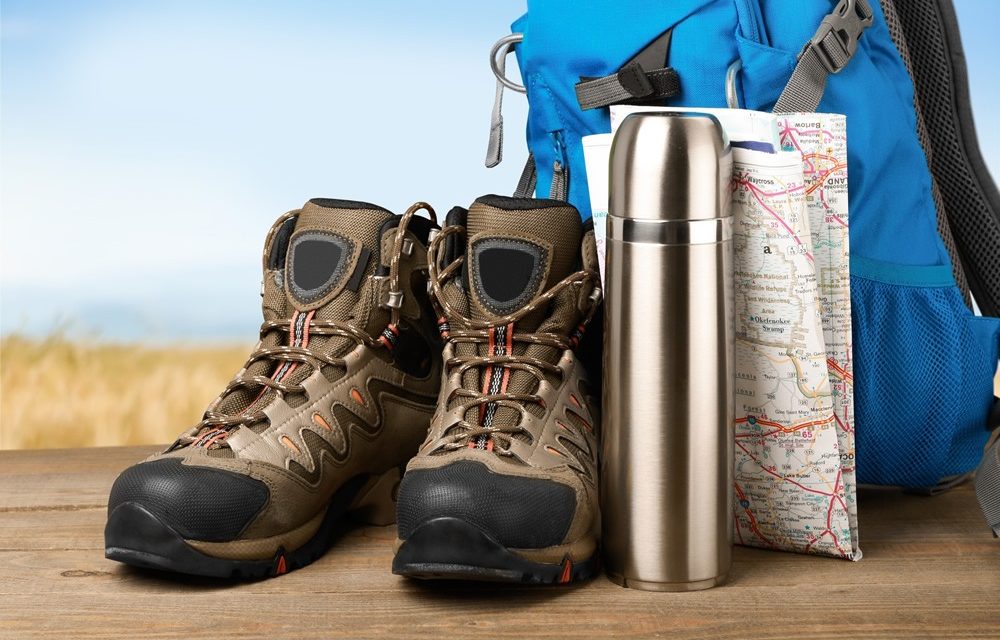
My Shoes – Merrell Moab

I wore Altra Lone Peak shoes for my hike on the Pacific Crest Trail and these trail shoes are incredibly comfortable. However, I also wore the same type of shoes for my walk around Ireland and it just wasn’t the same. It’s obvious now but the wet and muddy conditions in Ireland were much different to the mostly dry landscapes in America. I have been really impressed by the Moab which keep my feet dry, while providing great support and protection for hiking in Ireland. If you prefer boots, there is also a boot version of the Merrell Moab that you should check out.

My Socks – 1000 Mile Socks

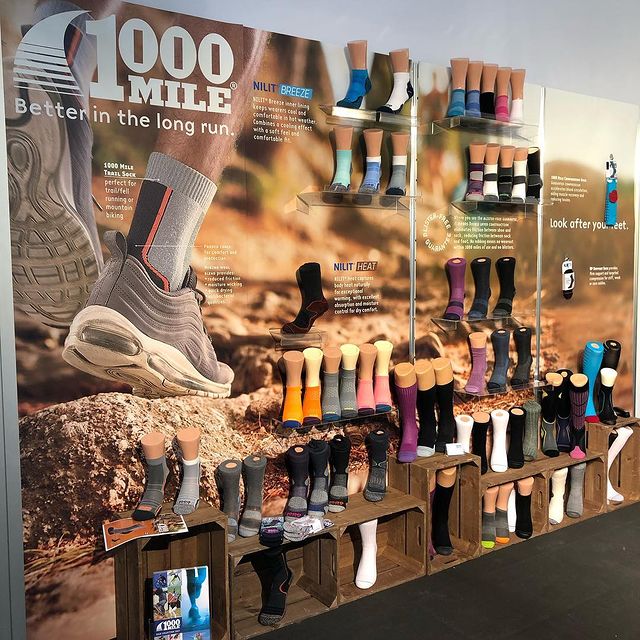
When I came back from America, I had fully realized the importance of hiking socks. There was an American brand called Darn Tough that really impressed and so my mission was to find a similar type of brand/sock on my return to Ireland. I wore several brands on my walk around Ireland last year but 1000 mile were the only socks that lived up to the job. They are warm, durable and comfortable – enough said!

Underwear – Ex-Officio

Have you heard of these before? Ex Officio Underwear is comfortable, light and quick to dry. Since I began wearing this type of underwear, I always wear and carry them in my pack.

Gloves – One Light/One Waterproof

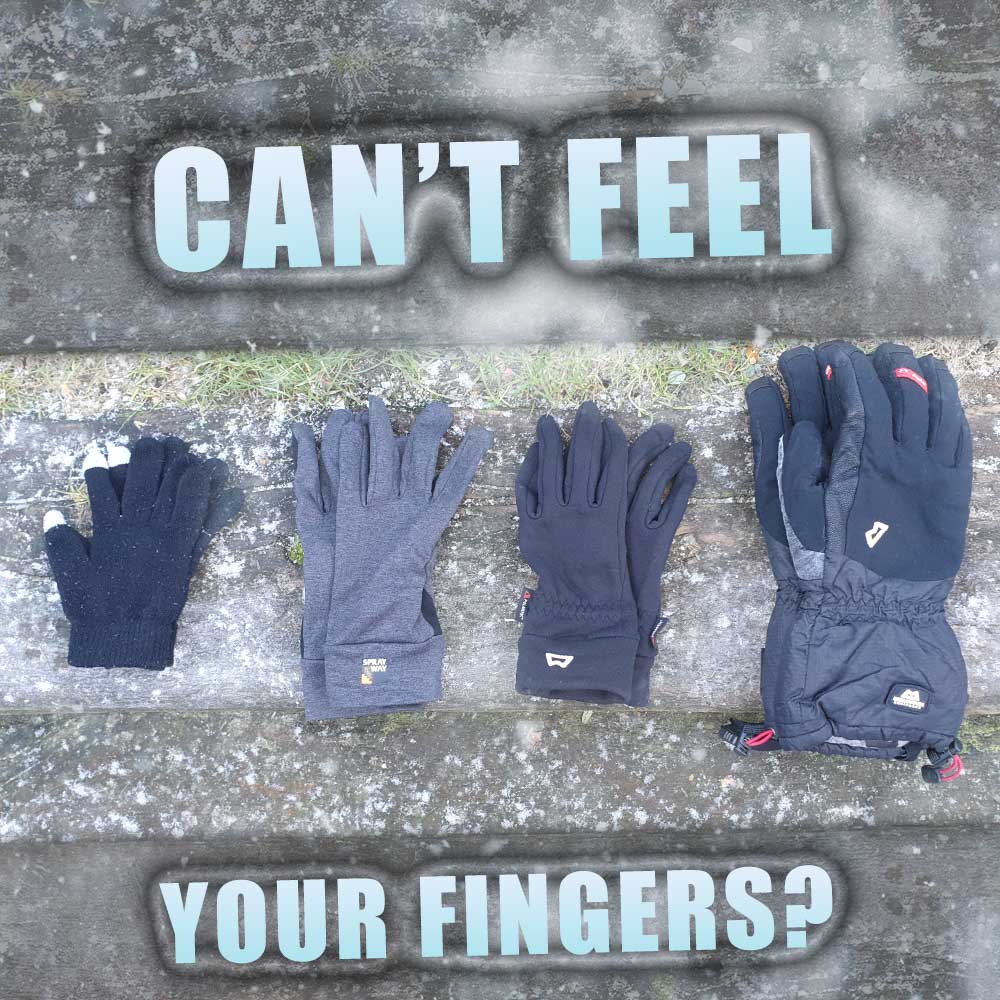
It’s important to have more than one pair of gloves and I almost always need to rotate these gloves in the winter months. This is often because the first pair gets wet. But I also like to have a rather light pair of woolly gloves for milder days or for wearing inside the tent at night.

Base Layer and Middle Layer

Aside from the long johns I mentioned already, I usually wear and carry a polyester or wool top that can wick away perspiration. This fabric will help keep the skin dry and warm. I will also have a sweater as a middle layer but some hikers/campers will prefer something heavier like a fleece. If the middle layer is not that heavy, just make sure your outer layer (jackets) are sufficiently warm for the environment/conditions.

Jacket – Regatta Down Jacket

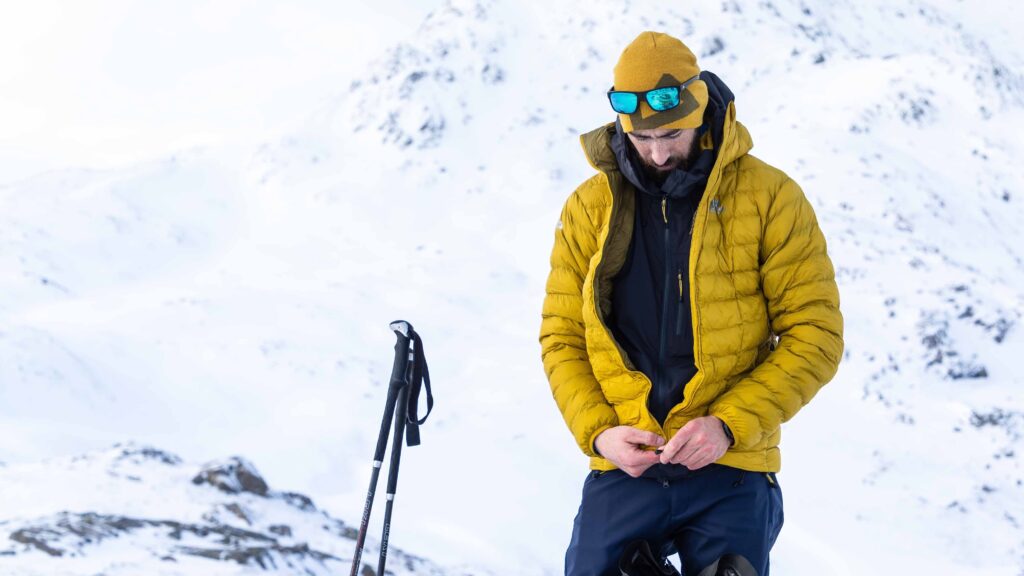
Believe it or not, I wore a down jacket from Penney’s on my walk around Ireland and also using a Regatta puffy jacket at this time. But that also meant carrying a bulky jacket that was rather difficult to squeeze into my backpack. I’m personally thinking about buying either the Arete Hooded jacket or the Lightline jacket – both by Mountain equipment. Either way, this type of jacket is essential and a great item for wearing inside the tent on cold nights.

Rain Jacket – North Face Soft Shell

My North Face soft shell has lasted through multiple trips over the last five years. I’ve been looking at this jacket and also this jacket by mountain equipment.

Headwear – Beanie Hat, Baseball Cap & Buff

I wear a baseball cap when it rains because I like how it shields my face and eyes from the elements. But the beanie hat is essential and something I wear at every opportunity – even when I jump into my sleeping bag. A buff/snood/morf is also a lifesaver in windy conditions and will save your face and lips unnecessary discomfort.

Trousers & Rainproof Pants – Sprayway Rask

Rain pants are not only small and lightweight but also an absolute necessity for hiking or camping in winter. It’s just so important to have waterproof layers to keep everything underneath as dry as possible. Even in light rain, I will often stop to put on my waterproof pants to ensure a comfortable day of hiking and a dry night in the tent. The Sprayway Rask are comfortable and breathable, while also light and compact for packing away.

Cooking Gear in My Backpack

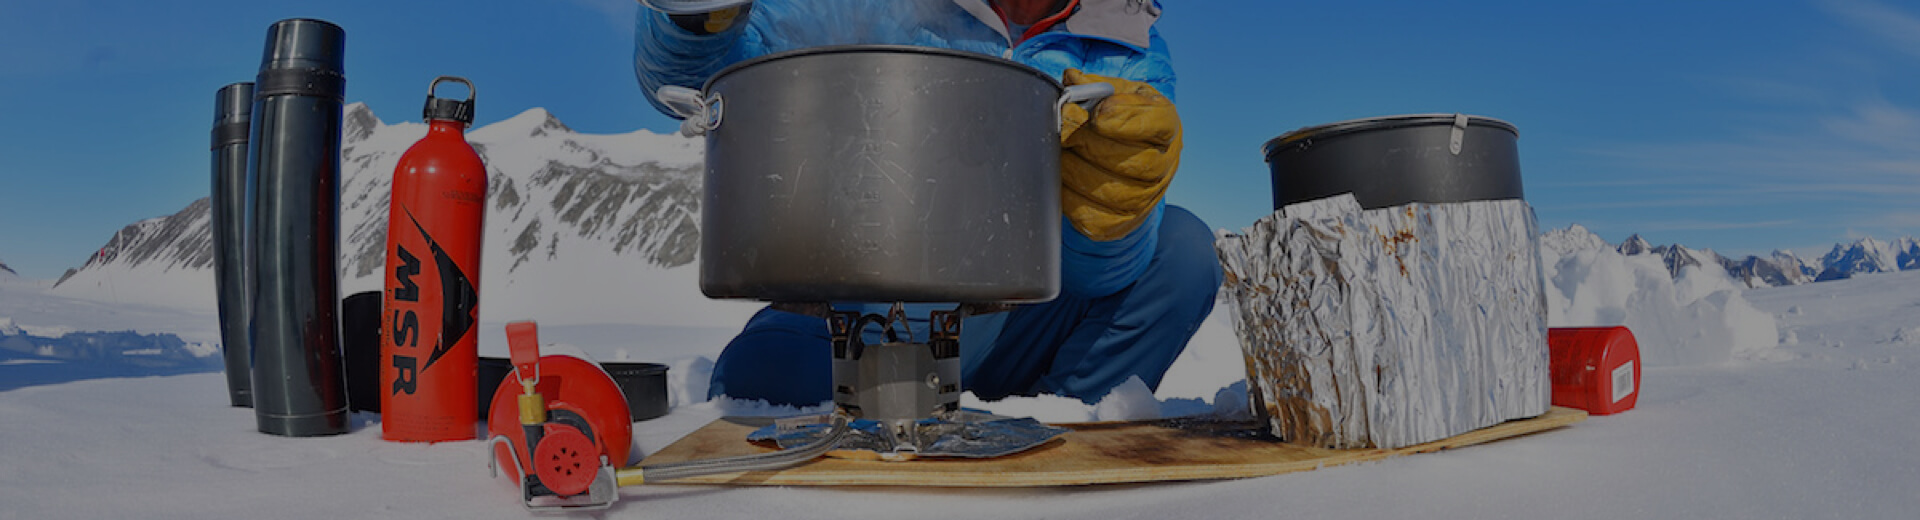
I have a small MSR pocket stove which is fantastic. However, I sometimes long for the ease and convenience of a Jetboil. Cooking can seem like a chore in winter, especially when it gets cold after a long day hiking and a simple cooking system is worth the money. I also have a titanium pot, mug, spork and tiny kettle for morning coffee.

PS. Don’t forget matches and a lighter as backup.

Food and Water for Cooking in Winter

I always make drinking water a priority and use a water filter to purify anything taken from rivers. It’s a nightmare to run low on water whilst cooking in the evening so the best way to avoid this from happening is to carry more than you think you will need. For food, I take meals which are quick and easy to cook which makes ready made meals such as this pasta and meatballs meal by Wayfarer for camping in winter. Otherwise, oats, cereal bars, chocolate, biscuits and a bagel with cream cheese will often find a way into my backpack!

Other Accessories in My Backpack

Headlamp – Petzl Actik Core

I know LED Lenser is getting some proper traction and rave reviews in the outdoor industry. I’d love to have one but honestly, I find no reason to do so until my Petzl Actik Core gives out or gets lost. It’s a powerful headlamp with 350 Lumens and several modes between which you can alternate while hiking, cooking, pitching the tent or even reading at night.

Map, GPS & App

You really need to have a map at the very least and while paper maps are good, I personally find a GPS app such as Maps.me or Google maps extremely useful in the outdoors. Needless to say, you should have your phone and take a power bank to ensure this can be charged or recharged whenever needed. I also hike with my phone on airplane mode which will help conserve your battery throughout the trip.

Toiletries & Luxuries

I carry very little toiletries and aside from soap and toothpaste/brush, I can only think of lip balm as a recommendation to carry. As for other items, toilet paper and a small spade will sometimes come in handy and anything else that is small and important to you.

Final Thoughts

I carry more weight in the winter months and always err on the side of caution. It’s best to carry “too much” and focus on what gear can keep you dry and warm. As for the process itself, it’s just so important to keep clothing and gear as dry as possible and not to wait until you are wet or cold before adding layers to protect against the elements.

Anyway, that’s all for now so thanks for reading and please do enjoy camping this winter!

10 Wild Camping Tips for Beginners that You Should Know 

I remember walking into a campsite in Kerry last year and feeling sorry for some of my neighbours. There were some fantastic setups but there were also a lot of people looking incredibly stressed and frustrated. In fact, one family was already arguing over the remote because yes, they had taken a television on their camping trip.

And each to their own, right? Of course.

But this also reminded me of why many people don’t enjoy their first spot of wild camping. Wild camping is far from being a science but it’s easy to spoil this experience by taking the wrong gear or failing to understand what makes it so enjoyable.

In this article, I talk about some wild camping tips for beginners and simple ideas that would have saved me a lot of hassles and discomfort when I started out.

10 Wild Camping Tips for Beginners that You Should Know

+ FREE Printable Wild Camping Checklist

1. Pack Light and Only Take What You Need

Carrying too much gear was my first mistake when it comes to wild camping. I think that because I was so afraid, I compensated for this fear by carrying more gear than necessary. This not only meant carrying too much clothing but also too much food and accessories. For instance, I had three different torches and spare batteries for each one! Because I took this approach to multiple items, I ended up carrying more weight than during my hike on the Pacific Crest Trail a few years ago. I believe experience teaches everyone the same lessons about wild camping but it’s sometimes better to learn from others’ mistakes, rather than your own!

I’ll be outlining a basic packing list at the end of this post.

2. Make Sure You Have a Warm Sleep System/Gear

You just won’t enjoy a night of wild camping if you have an insufficient sleeping bag, which is why I have a different sleeping bag for the warm and cold weather months. But here’s a few ways in which I suggest you can keep warm and comfortable each and every night:

Bring thermal leggings and socks that you can wear if needed.

– Invest in a lightweight sleeping bag liner – they can add an insane amount of warmth.

– Wear a down jacket/puffy jacket in your sleeping bag on especially cold nights.

– Place a rain jacket over the foot area of your sleeping bag.

– Wear a beanie hat to sleep so that you won’t wake up with a cold head.

– Take an emergency foil blanket as a backup.

In short, it’s better to be too warm or a cold night of wild camping is just not enjoyable!

3. Choose a Suitable Tent for Wild Camping

I sometimes use a bivvy bag for wild camping and really enjoy the immersive experience they offer. But a bivvy bag is not always suitable and this is especially true during wet and windy conditions. For this reason, I most often use a one or two-man tent for wild camping in Ireland.

But what else should you consider when choosing a tent?

If you want the best chance of remaining unseen and to avoid the risk of being asked to move, a green or brown tent is the most discreet for obvious reasons.

Pick a tent that performs well in especially wet and windy conditions. I find a low profile works best because they are much less likely to shake like crazy or make noise in general.

4. Pitch Your Tent Before You Go Wild Camping in Ireland

I went wild camping on Dunree beach some years ago with a Vango Banshee 200. It’s my favourite tent for wild camping in Ireland and incredibly easy to pitch. However, I made the mistake of assuming this would be really quick and easy to set up for the first time.

It was getting dark and raining hard at the time. Due to these conditions and the onset of frustration, I spent a good hour trying to figure out how to pitch the tent properly and the rest of the night trying to get dry and warm myself up again.

It’s true, the tent is extremely easy to pitch. However, every tent design is different and the Vango Banshee 200 required a different approach than my other tents. Moral of the story? I could have avoided this disaster by pitching the tent in my backyard beforehand.

5. Consider Taking Cold or Pre Made Meals Instead of Cooking

After a long hike, I do enjoy a hot meal but I’m often too tired to cook. That’s why I always carry the option to have a cold meal in the mornings or evenings. Cooking is one of the most enjoyable things about wild camping but it’s also messy at times and not always ideal in especially bad weather. What’s more, I’ve often found a cold chicken tikka wrap to be just as enjoyable as a hot meal of any kind- especially if someone made the wrap for me!

6. Aim for a Wild Camping Spot Away from Built Up Areas

I find that picking a forest area can be especially reliable for wild camping. A forest is most often a sheltered and calm place to camp but also one in which you’ll be out of sight. In terms of choosing a spot, it’s also quite easy to pick out forested areas on any GPS or physical map.

You should also notice it’s harder to find a wild camping spot near a town or built up area. This means if you are hiking a long distance trail such as the Kerry Way or the Wicklow Way, it’s best to pick out some potential wild camping areas either long before or after such places.

7. Choose a Safe and Comfortable Spot (Near a Water Source)

Camping on a bed of pine needles is a beautiful thing and much better than a bed of stones or especially hard ground. That being said, none of this matters if it rains and you’re pitched in a ditch or depressed area that’s likely to flood or become waterlogged. It’s also important to stay clear of any dead trees or branches and avoid exposed areas when the weather is particularly wild. The last thing I would mention is the convenience of having a nearby water source. This will not only mean that you can use as much water as you like but a water source also makes washing dishes (and yourself) much easier. On the other hand, maybe it’s a spot known for midges? In which case, midges like water and this might be something to avoid.

8. Wait Until Nightfall to Pitch Your Tent

If you want to avoid getting moved on, it’s best to wait until nightfall to pitch your tent. I actually do this so that I won’t be thinking or worrying about having to relocate. It obviously won’t matter as much deep inside Wicklow National Park but it’s a decent rule of thumb.

For the sake of the wild camping community, I also suggest you pack up and leave at first light. It’s not about getting caught but rather about making every effort not to disturb locals and to help the wild camping community avoid any unwanted attention.

9. Don’t Underestimate the Importance of a Headlamp

I used to lead camping safaris in Africa. Before these trips, I would often pick up a few headlamps as my guests would often show up without one. You see, many of these guests had never gone camping before or tried to pitch a tent in the dark – without a headlamp. It might seem like a rather obvious or minor matter but you need both hands to pitch a tent which will inevitably make the process a little more than frustrating. The same goes for cooking in the dark, reading in the dark and going to the toilet in the dark – you get the idea!

10. Use Reusable Dry Bags (And not Plastic Bags)

I try not to use plastic bags wherever possible and dry bags are the ideal replacement. It’s important to use these bags to ensure your gear is fully protected from the elements. The truth is, backpacks can leak and a dry bag will ensure your backup gear is properly stored.

Just so you know, I use reusable Ziploc bags for food. However, I not only use a dry bag for my spare clothing but I also have a separate dry bag for my cooking equipment, sleeping bag and electronics. You can never be too careful but you should also find these precautions will serve you well on future trips.

Now, here’s a quick look at a basic packing list for wild camping. Please remember this is a basic outline and you will need more or less gear depending on various factors/conditions.

Basic Packing List for Wild Camping

  • Tent
  • Sleeping Bag (& Sleeping Bag Liner)
  • Sleeping Mattress
  • Down Jacket
  • Gloves
  • Rain Jacket
  • Rain Pants
  • Beanie Hat
  • Backpack Rain Cover
  • Dry Bags
  • Spare T-Shirt
  • Spare Socks
  • Warm Sweater
  • Thermal Top / Bottoms / Socks
  • Headlamp
  • Map / GPS
  • Water Filter
  • Stove / Gas
  • Pot
  • Spork
  • Lighter & Matches
  • Camping Knife
  • Phone
  • Powerbank
  • Charging Cable
  • Toothbrush & Toothpaste
  • Toilet Paper
  • Credit Card / Cash
  • Plastic Bag for packing Trash / Waste

Final Thoughts

I think that most people often worry and think about the same things before they go wild camping for the first time. These “things” include getting lost, being attacked or not having the right gear. But most of these thoughts are either unlikely or irrational and having the right gear is a simple matter of careful research and packing.

End.

Either way, stay safe and whatever you do – enjoy your time in the wild!

Camino de Santiago – What will I need for trekking the Camino?

Walking the Camino is one of the most popular adventures, rite of passage or pilgrimage in the world.  In English it is The Way of St James and it attracted more than 327,378 pilgrims from over 200 different countries to complete the Camino last year.  That does not take into account the thousands of walkers who trekked sections of the pilgrimage route in France, Portugal and Spain.   All roads on the Camino lead to Santiago de Compostela where pilgrims who have completed the entire route are presented with their Compostela certificate

The idea of walking a pilgrim path in the 21st Century may seem a bit archaic and quaint, but the increasing crowds is testament to the benefits and popularity of walking through nature, without modern devices and in the footsteps of many.  This pilgrimage was popular in the 10th, 11th and 12th Century and then lay going wild and alone, and only began to be of interest again in the late 20th century.  Modern travellers choose the section of the Camino that best suits their activity level, the time they have allocated to complete the walk and the scenery they would most enjoy along the way. 

The most famous and popular route is the French, Camino Frances, with the Camino Portugues, originating in Portugal, as the second busiest route.  These can be busy routes, so if you prefer a quieter road, the Camino Primitivo or Original Way offers 261km of beautiful scenery and a fairly strenuous trail.  Should the  wildness of a rugged coastline appeal to your senses, then the Camino Del Notre which takes in 825km of incredible, and rigorous,  sea trails  is probably the route for you.

It is possible to do the Camino de Santiago at any time of year, although snowy mountain trails may slow you down and become dangerous in winter.  Spring and Autumn are the best times for the pilgrimage, no matter which of the trails, paths or pilgrim’s way that you choose.   

No matter which itinerary and season you chose to embark on your iconic pilgrimage, you will need the right equipment.  At Outdoor Adventure Stores, we have compiled a list of gear which are essential for a successful pilgrimage, where your thoughts are mindful of the road and the journey itself and not the pain of your blisters!  Whether you decide to camp out and need a good sleeping bag or stay in hostels and pack a good sleeping bag liner, we have listed everything for you to customise to your own pilgrimage needs.  Good walking shoes and rain ponchos or coats are a must for all.  

The Camino is more than just an amazing outdoor adventure. Those who have embraced the rigours of its dusty and arduous roads say it that for many, it holds a specific spiritual symbolism too. We think you should be well prepared and are right here to assist in any way that we can so that your Camino trail is memorable for all the right reasons.

Gear List:

Ultra-comfortable walking shoes or boots 

Good quality hiking socks (merino wool or other)

Comfortable backpack, with hip straps (30-45L will work) 

Trekking poles or walking pole

Sleeping Bag

Sleeping bag liner

2-3 light cotton shirts. (one long-sleeved, one short-sleeved- look at base layer clothing if trekking in the colder weather)

Fleece jacket

Hat and sunglasses

Good rainwear or rain poncho

2-3 trousers options (hiking pants, sweatpants, leggings, shorts, anything goes as long as you’re comfortable) 

Plastic flip-flops (hostels essential)

A large quick-dry towel

Flashlight  or headtorch

Swiss army knife

Earplugs and eye mask

A medikit   (Check out our readymade, compact and complete first aid kits)

Sunscreen

Water bottle

Guidebook

Moneybelt

Phone Charger and an adapter/converter for the outlets

Sleeping Pad – This is optional, but some people like to have them.

A guide to the perfectly packed rucksack

Before you take to the highways and byways for your grand adventure, you may be faced with one last dilemma.  No, it’s not how to say goodbye to the dog nor is it anything to do with missing Mammy’s Sunday dinners.  It concerns the growing pile of clothes, toiletries and equipment on the floor. How do you get all this stuff into one rucksack?  The challenge is packing it all so that you are comfortable as you walk, so that you can find things easily and being efficient with space so that you won’t be leaving essentials behind.  Yes, packing a rucksack is a skill.

Don’t panic! Here is a quick and easy guide to the perfectly packed.

The whole secret to the task is to evenly distribute the load evenly and in order of importance/ access.

The topple test – A properly packed pack can be tested by setting it down on a flat floor. If the bag falls to the left or right, then the weight is not distributed correctly, and the load will need adjusting. If the bag falls onto the front, then you have packed a bit top heavy and need to adjust the gear at the front of your bag or the load will drag you back as you walk.  So weight distribution is very important when packing your bag, but bear in mind that the important and essential items need to be accessible.  More about ‘the topple ‘later…

Before your big expedition, it is useful to practice the packing and to do it the same way every time. That way you know what fits and where everything is. Remember that you should not carry more than 25% of your own body weight, so dump some of the non-essentials now.

Start by packing the tent.  It’s the biggest item so place it in vertically and near your back as this keeps the weight close and easier to manage.  Slide the sleeping bag (snug in its waterproof case) beside the tent. Cooking items and bulkier stuff should be added next.

Place them to the front so you don’t have a pot handle sticking into your kidneys for the day. Clothes should be rolled and placed in the spaces between. Rolling is the best way to save space. Toiletries are next… Food items go to the top of the rucksack, alongside your first aid kit, waterproofs, hat and gloves and any other things which you may need in a hurry (toilet paper and sun cream!). If you are carrying liquid fuel, pop it in one of the side pockets, where it is less likely to spill on your gear and balance the weight with water bottles on the opposite side.

Now try the floor test. Once it passes the topple test, it is a good idea to trek around the room a bit and be sure that all is perfectly packed for your adventures.

A well-packed pack is something you don’t notice when admiring the astounding views and vistas of your adventure. A poorly packed one is very obvious to you and to your travelling companions.

Choosing a new rucksack- An investment in your future adventures!

Buying a new rucksack is a very serious business.  Just kidding! Its great fun, especially if you come instore and enjoy trying them on and choosing from the fantastic range we stock. It is, however, a bit of an investment. For the dedicated adventurer, the backpack you pick is likely to be up close and personal with you for many years to come.  The best haversacks, the water-resistant, lightweight and stylish rucksack of your dreams, should be the one that accompanies you to urban meetings, stylish hipster pub and carries your life-giving essentials to the remotest trekking zones in the world. O.K. we might be overstating the importance of the humble rucksack, but it cannot be denied that many of us have a backpack which has outlived even our longest relationships.  That is a testament to the excellent quality and durability of an Outdoor Adventure Store rucksack and absolutely no reflection on any individual’s couple-skills.

Replacing or purchasing a new a haversack takes time and so, it is always good to consult the experts (That’s us, in case you were wondering!) when picking a new pack. We have some tips and pointers to help, particularly for our online shoppers.

Size Matters 

For a comfortable fit which will see you bounding, effortlessly over hills and dales, you needto get a handle on the required size, even before you even start to shop. The torso, not yourheight is the key to a good fit. Here is how to measure your torso for a well-fitted backpack.

Tilt your head so that the C7 vertebra at the base of your neck protrudes at the bony bumpwhere your head meets your neck. This is the starting point of your measurement. Put yourhands on your hips and use your thumbs to feel for the top of the iliac crest (the top of the hipbone). Draw an imaginary line between your thumbs. This spot on your lumbar is the bottom
of your measurement. Stand straight and ask a friend to tape measure along the contours ofyour spine and between the two points. You now have your torso length. (Most adult’s torsomeasurements are around 40 to 60 cm.)
Torso ranges for pack sizes vary between brands and models, so always check the size chart.

If you fall between sizes, come into the store and try on each size till you find a comfortablefit or drop us an email and we can advise.
Once you have the torso size length, the hip size is generally correct, but as you carry most of the pack weight on your hips, it is crucial to have a well-fitting hip belt. Hip belt size is not the same as your trouser-waist size. Pop the tape measure around the top of your hips,following the iliac crest, which is a wee bit higher than hipline.

Adjust to Fit

Once you have bought that shiny new bag, with its promises of adventures to come, try it out at home.  Apart from the obvious posturing in front of the mirror to ensure that the style is right, you will also need to adjust the straps to fit.   Backpacks have several adjustable straps to ease the load and for greater comfort. The hip belt, shoulder straps, load-lifter straps and sternum straps. Your legs have some of the strongest muscles in your body, so the goal is to adjust your straps so that the majority of the load rests on your hips, and ultimately your legs do the work.

Pack the bag with a load of around 7kilos for starters.  Loosen all of the adjustment straps slightly. Adjust the shoulder and hip belts first.  Follow this with some tweaking on the load-lifter/sternum straps.   Walk around a bit and see how it feels, adjusting straps as you see fit.  The urge to head off for the big adventure will overtake you now, and you just might have to go for a quick trek around the park to get the full effects of your new purchase.

On the Trail    

Once you are out and about with your rucksack, pay attention to how it feels on the trail. Experienced hikers adjust regularly, depending on how the load feels.  Leaning forward slightly may feel a little better. One common trick to combat load fatigue is to tighten the shoulder straps and loosen the hip belt and to reverse the procedure later.  Ease your overworked muscles by taking the pack off at rest breaks.

 Style   

This should be the easiest part of buying a new backpack. However, with a massive variety of styles, colours, brand names, shapes and rucksack accessories to choose from, this can actually be the most difficult part of the process. Purchasing a haversack is, after all, an investment in your future adventures.  Take your time, survey the choice and imagine all the upcoming expeditions to wild and wonderful places with your trusty backpack and let that bag speak to you. Or just pick your favourite colour. Whatever your method, our expert staff are on-hand to assist with making the whole experience a pleasant and fruitful one. We wish you and your new rucksack a long and happy road together.